|
BUILDING A STRIPED S-STYLE! |
|
BUILDING A STRIPED S-STYLE! |
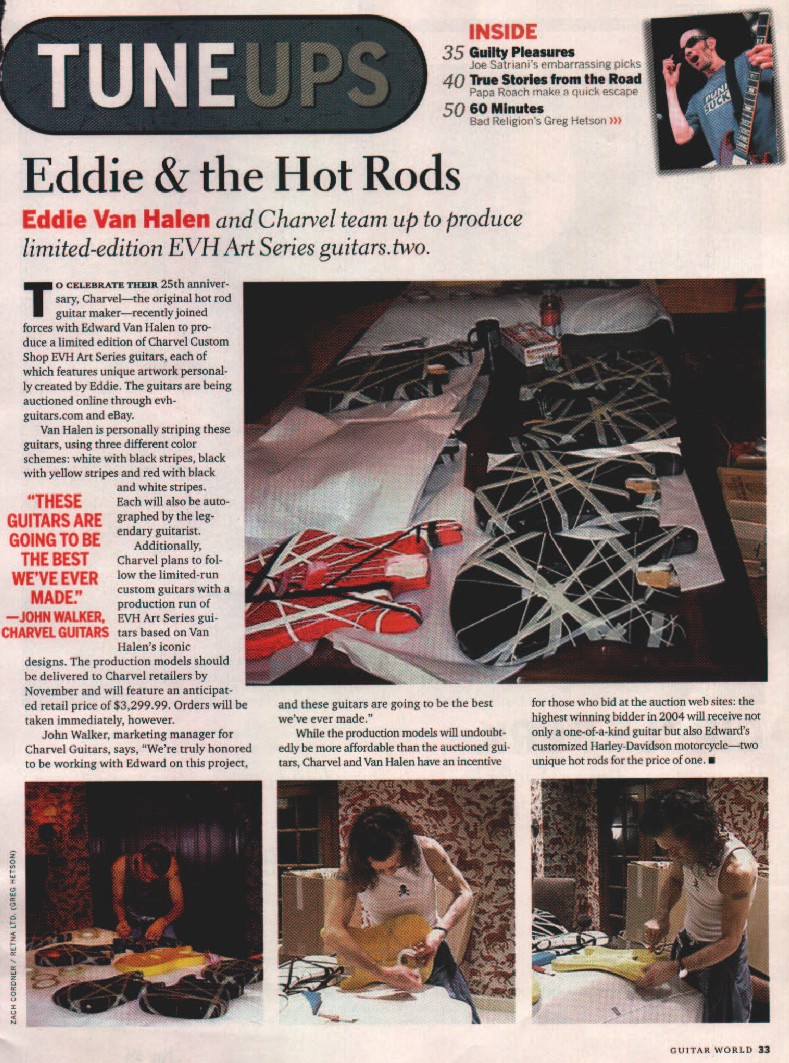
We saw the Charvel/Fender Van Halen guitars at the 2004 NAMM Show, and we were
always big VH fans....why not! While we weren't particularly impressed
with the finishes on those guitars, we thought it was time to take the
plunge and build a killer S-Style !
This is how it went down at GuitarAttack....and we didn't use our dining room... |
||||||
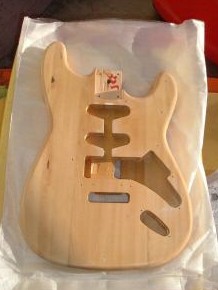
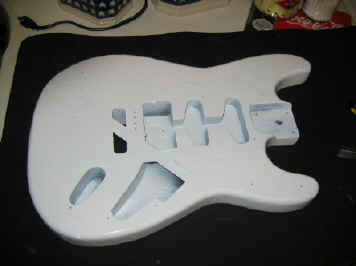
| Yes folks...an imported Strat-style body,
made of basswood. It came with some of the hardware, but we decided to mix and match
and buy some good stuff...and the cheaper, the better. Our body was in good shape when it arrived from Mr. KK. Interesting point -- note that this body has a route for a humbucker. Most of these bodies are routed for single coil pickups only. |
|
|||||
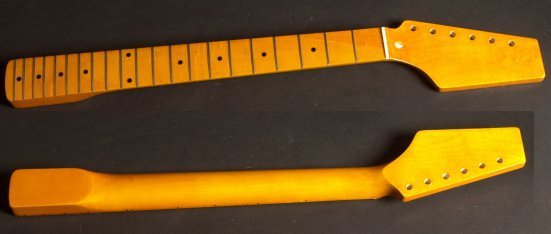
| Step 1: The Neck
Must Be Stripped! Here's a twist...Mr. Ken at KK's got us a maple neck to complete the VH look. To our horror, the neck came with an incredibly tough, non-OSHA compliant vintage finish. We bought some stripper and went to work. Wow, this stuff is tough. Safety Tip: The trick in stripping one of these necks it to get the offending finish off while saving the plastic position markers. Very tricky -- keep some paper towels at the ready to wipe the stripper off! Could we go with a late 60's big headstock look on this one? Unfortunately no. The curve on the bottom of the headstock is too big, and a "Hendrix-looking" headstock is impossible. We decided on a Charvel-hybrid look. |
|
|||||
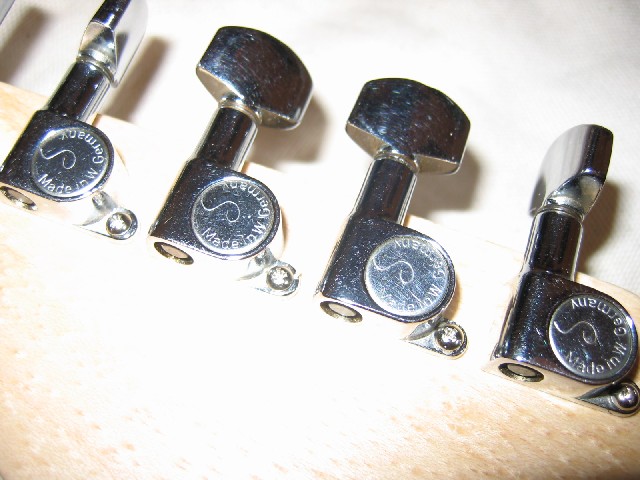
| Step 2: Cut the headstock, seal the neck and give it a Fret Job. Here is the "after" view. The headstock was cut with a bandsaw and finished with an oscillating table sander. Take your time on this one -- if you make a mistake there is no going back! One thing that you'll find pretty readily in the import neck game are really, really sharp fret ends. One way to make any import play better is to give it a fret job. We sealed this neck with our special, secret formula for "the raw wood feel" then did the frets, complete with a polish. The sealer is required, in our collective opinions, to keep it from acting up during climate changes. We rounded the neck off with a set of generic Gotoh/ Schaller tuners we scored on eBay. We installed them and found that they were pretty second-tier. Time to try some real Schallers. Do you really get what you pay for? This was a disappointment, but we should have known. We found these Made in W. Germany Schallers, and they are great tuners. They are a few years old...there hasn't been a West Germany in a while. We'll put the single string tree on when we get the guitar strung. Now the neck can be set aside and our focus can turn to the body and the paint job. |
|
|||||
 |
||||||
|
||||||
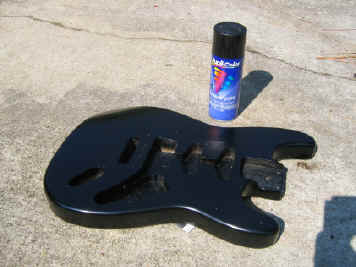
| Step 3:
Prep the Body Like the Mattocaster, we decided that stripping the body might be the right way to go. After a number of applications, the sealer on the body started to budge. We're not sure what this stuff is, but we'd hate to be involved in actually spraying it. You know...OSHA may not be such a bad thing. Here is a can of the Dupli-Color black acrylic lacquer sitting next to the body. The paint is inexpensive and can be bought at most auto parts stores like Advance and AutoZone. It only comes in black, white, silver metallic, and clear. Mr. Van Halen used Schwinn Bicycle Acrylic Lacquer to paint his first Strat. The Dupli-Color is a good substitute, and it is readily available. |
|
|||||
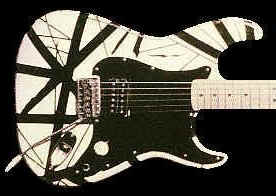
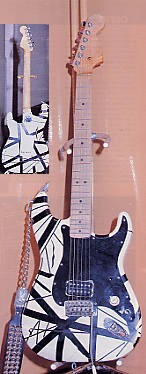
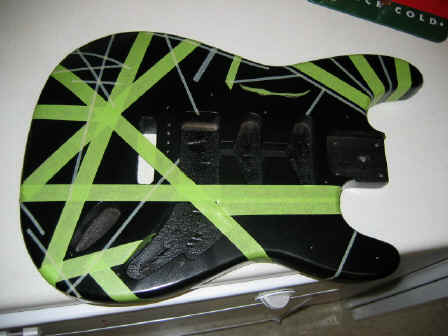
| Where does
the tape go? How did we decide where to put the tape? How wide is the tape? Whew...this was a process. On top is a shot of a well-known Strat clone. Below is our project rig with a bunch of tape on it. We imported the photo into CorelDraw and started taking measurements on the stripes by using the "known distance" method. We had a few surprises, but ultimately got the correct tape on hand. We always use good quality 3M tape, and it does make a difference. Picking one end to start on, we started with the big stripes first, making sure they were completely snugged down at the intersections. If the paint bleeds, it will be at the intersections of the stripes. We used a guitar pick to snug the tape down. After the front was done we did the back. There are very few photos of the VH guitar's back, but we found one. It wasn't that great, but it gave us plenty to work with. Once the taping was done I sprayed a thin coat of black over the tape -- a trick from some pinstripers I know. |
|
|
||||
|
||||||
| Step 4:
Spray the white. After a can of white Dupli-Color, the body wound up looking like
this. It is hard to tell in this photo, but it is really nice and glossy. By the way -- the Dupli-Color dries very, very quickly. |
|
|||||
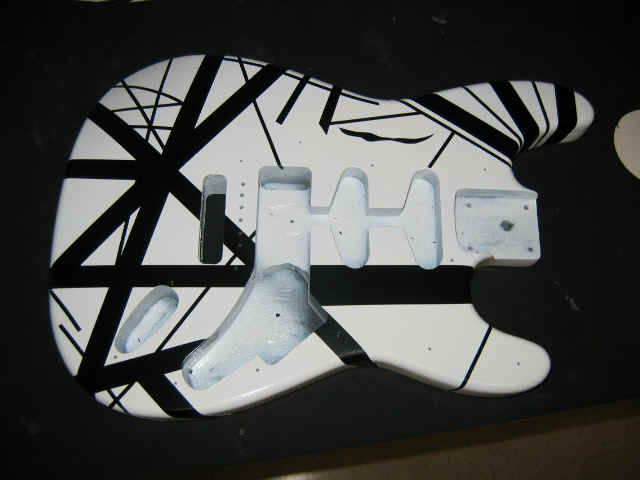
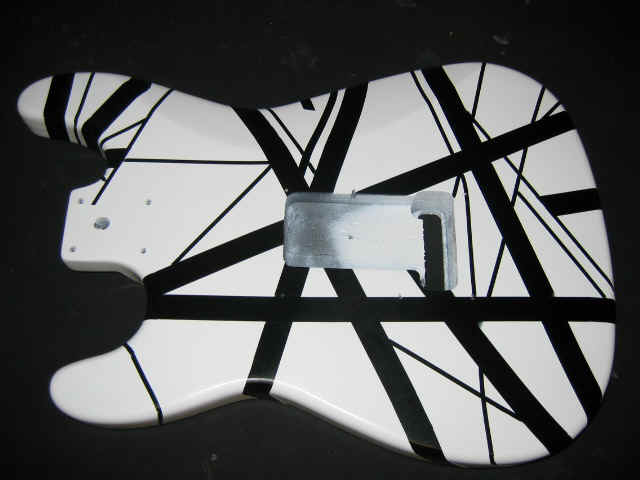
| Step 5:
The moment of truth...the tape comes off. We recommend pulling off the thin
pinstripe tape first. Here are shots of the front and the back with the tape removed. Overall, the paint came out great. Now we'll clearcoat the body and buff it out. I am pretty sure that this is where Mr. Van Halen stopped and bolted on the neck. Refer to the reference shot above. We believe it looks pretty convincing so far. Click for full-sized photos. Next up....clear coat the body! |
|
|||||
|
||||||
On to Page 2 |
||||||
| ATTACK HOME | BUILDER'S GALLERY | ||||||||||||||||||||||||||||||||||||||||||||||||||||
|
|||||||||||||||||||||||||||||||||||||||||||||||||||||