 |
BUILDING A RELIC TELECASTER! Page 2 |
 |
BUILDING A RELIC TELECASTER! Page 2 |
| Now...the time has come to make this Tele look like it has been played in every honky-tonk from Nashville to Dallas.... | |
| Step 5:
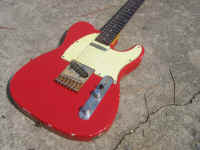
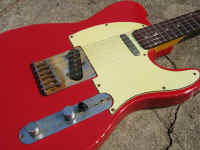
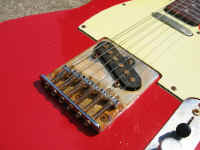
Work on the Body We always try to imagine how the player would have dinged-up a guitar like this Tele. The hardware shows years of abuse and general inattention. Not the rusty saddles and the "sweat pattern" of the player. Of course, he played standing up, so we get a worn patch along the upper edge where his arm rubbed the edge of the body. He sat the guitar against his amp during breaks, and that is why you see the dings (some pretty big) along the edges. The back shows the same general pattern -- worn patches and belt buckle rash from a big old rodeo belt buckle. |
 |
 |
|
 |
|
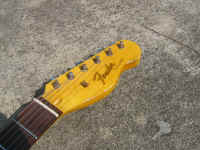
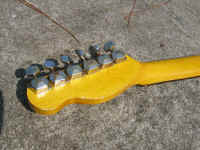
| Step 6: Headstock We dinged up the headstock along the edges, and we still have to add the cigarette burn under the low E string. We are also going to check the lacquer on the headstock -- check back for more photos. By the way -- the Saga plastic nut was a real loser. We wound up putting a new Micarta nut in its place.
|
 |
 |
|
| Here is an overall shot of the guitar. It is starting to look pretty authentic and it plays and sounds really great. Check back for the final touches. Again, be careful what you buy on eBay.
|
 |
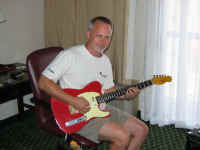
| The guitar is delivered! When Ken saw the Tele, he had to have it for his burgeoning guitar collection. I think what really excited him was the authentic "Tom Murphy-like" lacquer checking on the top. I believe Ken was picking a little Working Man Blues in this photo. We had an insightful (OK...semi-insightful) discussion on the number of fakes floating around and how, with a little planning, a semi-luthier can turn a Saga kit into a pretty killer guitar. We expect to see the guitar in action with the Taylor Brothers soon. Keep checking back for updates!
|
 |
| Back to Page 1 | |