|
|
We knew that we wanted a shorter fretwire, but we had to ensure that it would fit in the slots. Using our trusty radius gauges from AutoZone, we measured the fret slots. The slots were right where they needed to be for the fretwire we were using, so we didn't have to resize them or the fretwire. Is that lucky? Probably, but most of the time the slots and the wire are about right.
|
 |
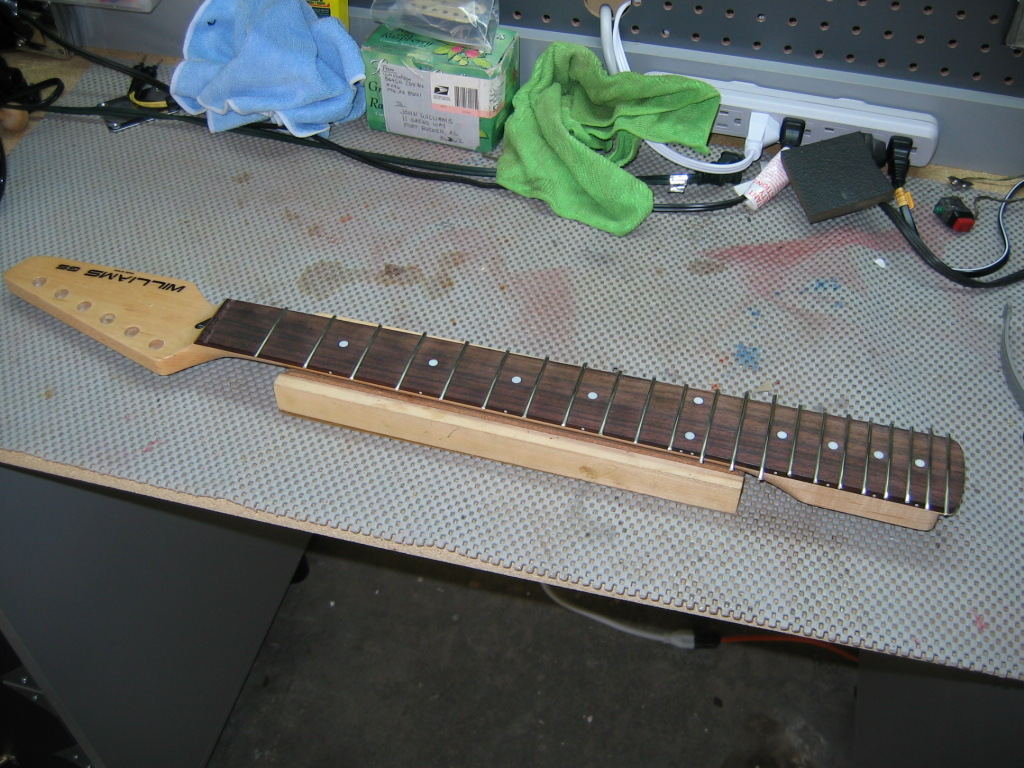
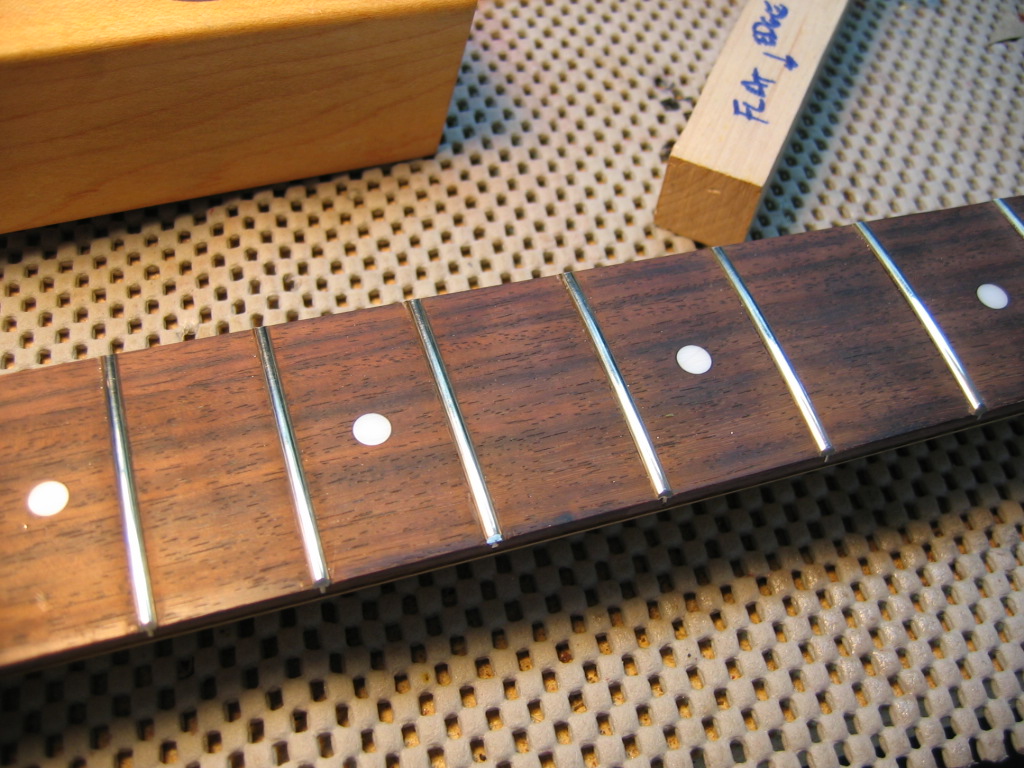
| We did a
standard fret press refret on this neck. Here is a shot of the neck
with the un-trimmed fret wire. Remember -- we loosened the tension on
the neck prior to fretting to see how the frets would affect the bow of the
neck. We use regular Titebond glue under our frets, and we like it much better than using superglue for a number of reasons. The biggest is that superglue really has the potential to create a super mess! |
|
|
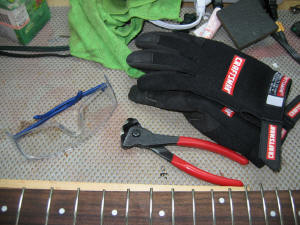
Here are our tools for trimming the frets. The safety goggles are a must because there will be a lot of metal flying around. The pliers are flush-cut pliers which do a great job on the ends. Finally, the mechanics gloves protect your hands, and ensure a good grip on the pliers and the neck. Starting at the heel end, we snipped the fret ends. Our technique is to grab the fret end with the pliers so that the cutting edges of the pliers are parallel with the fingerboard. As we squeeze the pliers with the right hand, we push down on the pliers with our left hand to prevent popping the fret out of the slot.
|
|
|
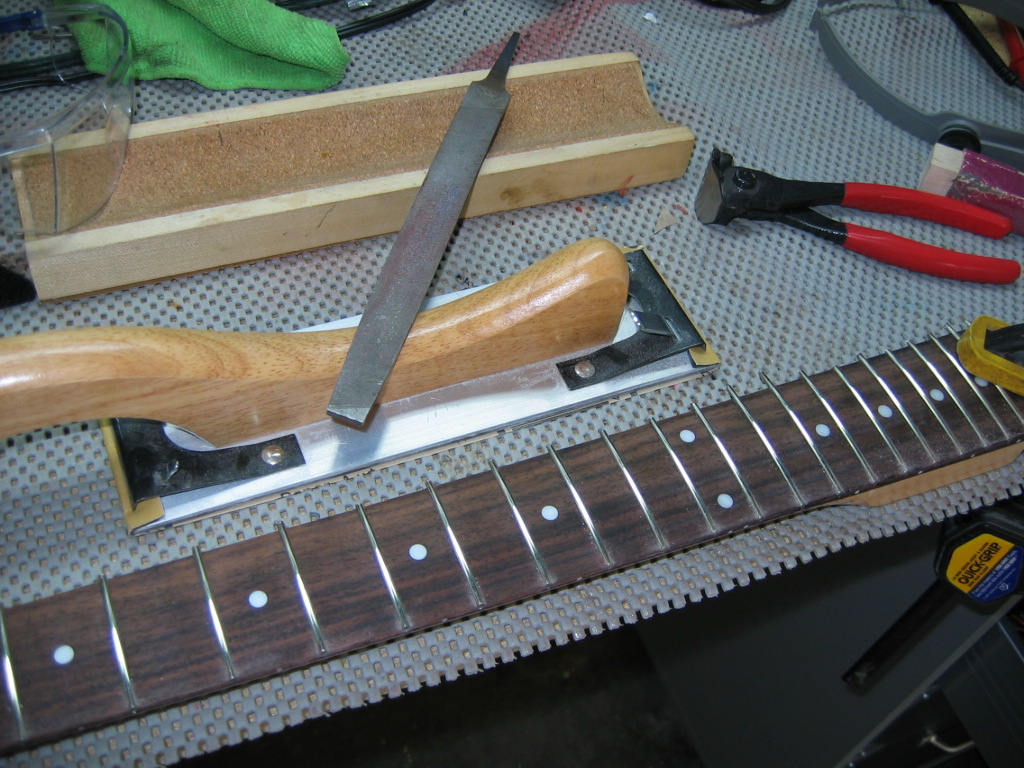
Once the frets were trimmed we had to smooth down the edges to prepare for a
bevel. Using our mill file, we get the main "barb" off the end of the fret for each fret. Note the neck is clamped to the workbench. This is important -- you don't want that neck moving around. Once the rough cut is complete, we use the flat sanding board to smooth the ends down to the wood. Again, we use 180-grit 3m Sandblaster paper because of its smooth cut. Note the "fret dust" along the top edge of the fingerboard after sanding.
|
|
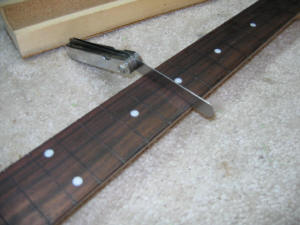
Now it is time to bevel the fret ends. Here is a shot of the neck and the beveling file from StewMac. We really like this file because it makes beveling the fret ends a quick and efficient job. You literally run this file up and down the side of the neck until the desired bevel is on the frets. By the way -- don't put too much pressure on this gadget...see the safety tip! Safety Tip. Note the brown tape on the frets. If this file gets away from you while you are really bearing down, it will slide across the frets, and make terrible gouges that may not be recoverable. We have had to do partial refrets after losing control of one of these files! Please be careful, and take your time. |
|
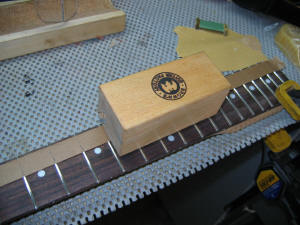
| We
continued to work the fret ends, and once satisfied, we were ready for to
level and crown the frets. Remember -- leveling is getting the tops of
the frets level in relation to each other using files and sand paper, and
crowing is the procedure for "re-rounding" the tops of the frets after they
leveled. Here is a shot of the neck prior to taping for the level and crown.
|
|
| Go Back to Page 1, Go to Page 3 | |
| ATTACK HOME | REPAIR MAIN | ||||||||||||||||||||||||||||||||||||||||||||||||||||
|
|||||||||||||||||||||||||||||||||||||||||||||||||||||