|
Step 3. Start on the Graphics
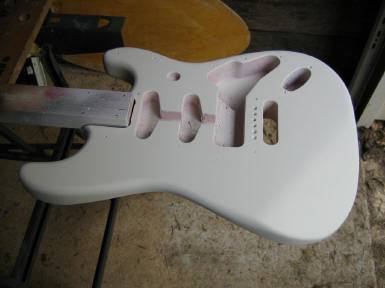
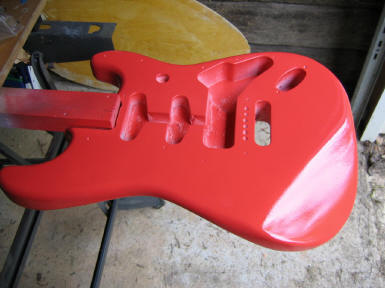
Once we got some paint on the body and it was drying,
attention turned to starting the graphics. We decided to start on the
pickguard while the body was still being prepped.
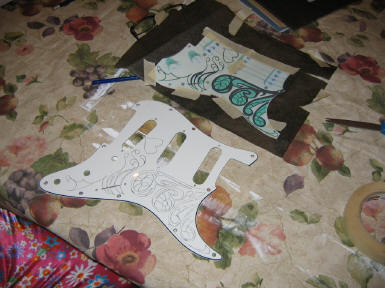
We copied some graphics from the internet, and imported
them into CorelDraw. We measured the pickguard, set up the
measurements as guides in CorelDraw, and stretched the graphic to match the
exact size of the pickguard. Once stretched and trimmed, we printed
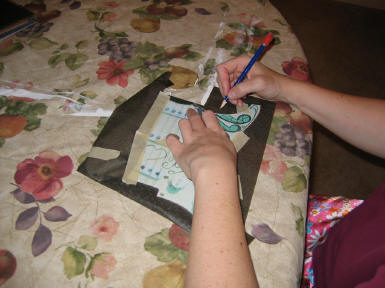
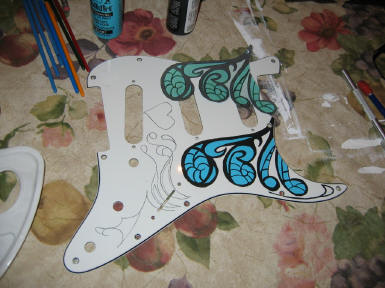
the graphic on regular paper. With the printed
graphic in hand, we placed carbon tracing paper, available at craft stores,
over the pickguard and taped it into place. We then placed the graphic
over the pickguard, lining it up in front of the window (as a back light),
and quickly and securely taped it down. Once secure, we started
tracing. |