|
|
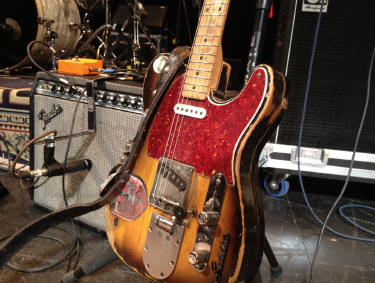
The Guitar Attack B-Bender T-Style! We are big fans of classic country music -- not the "classic rock with a steel guitar" you hear today. Marty Stuart reintroduced us to country when we moved back to Tennessee in 2010...thanks, Marty. Marty is a great guitarist, and he owns and plays the original Clarence White/Gene Parsons modified-Telecaster. There is lots of information on the internet about this guitar, pictured here, and we invite you to do some research. Click here to get the whole story from the inventor, Gene Parsons. Bottom Line: We wanted one to play, but were afraid of butchering a perfectly good Tele to find out that we didn't like it. WARNING: Installing a bender is irreversible and requires a great deal of routing of the guitar body. Only undertake this modification if (a) you have good work working skills and (b) if you don't mind permanently modifying a Telecaster body.
|
 |
|
Here is a killer video of Super Picker Albert Lee giving
a demonstration of the B-Bender.
|
|
|
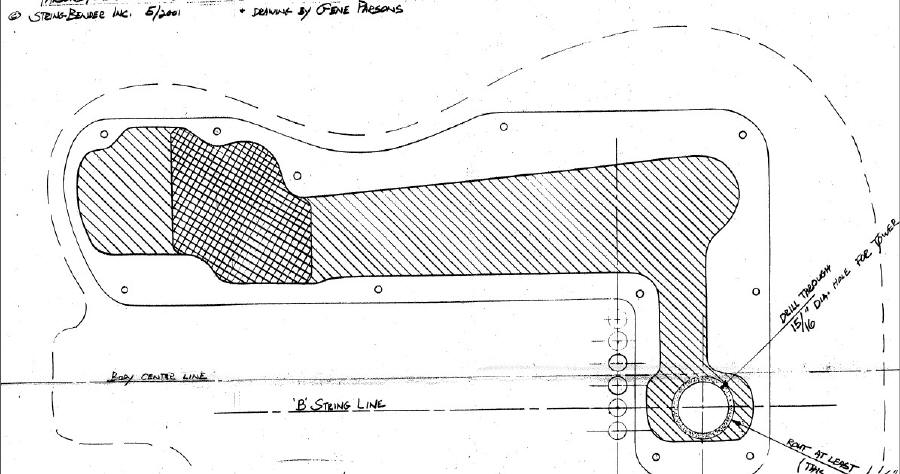
OK...we're convinced....WE'RE NOT WORTHY! First, we had to find a bender before we could decide how to install it! After a great deal of research we decided on the Hipshot Parsons/Green bender. Click here to see the product page on the Hipshot site. Just to give you an idea of how invasive this procedure will be, check out the routing template below that came with the Bender....OUCH! We will be removing a great deal of wood from the Tele's body.
|
|
|
|
|
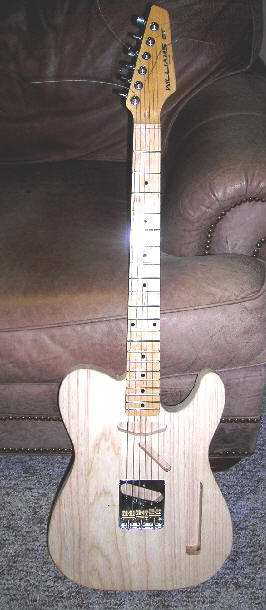
Step 1: Prep the Body Since we didn't have a Tele to modify, we had to put something together. We traveled to the Guitar Mill in Murfreesboro, Tennessee, and picked-up this "second" body for about half price. Mr. Martin who runs the Mill is a great guy and was very accommodating. There were some marks on it and the sides had not been sanded, so it looked OK for a relic job. This is a really nice swamp ash body and it has authentic 50s contours.
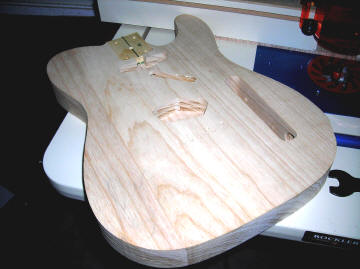
This is a shot of the body before we completed a vintage
1/8" round over on the sides. |
|
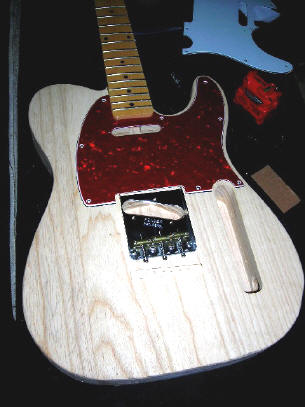
We got the round over done and finished sanding so we decided to do a
"mock-up" of the guitar. Here is a shot of the body with a reddish
"tortoise shell" pickguard and maple neck. You can see the white
pickguard in the background. We had originally planned to use that
one...more on that later. The bridge is a genuine Fender Telecaster
bridge, but we plan to replace the saddles with String Savers at some point. Safety Tip: Always make sure your guitar will play before you apply a finish. Getting a neck and pickguard to fit properly with a freshly buffed finish is nerve-wracking and will lead you to say "never again will I build a guitar"! |
|
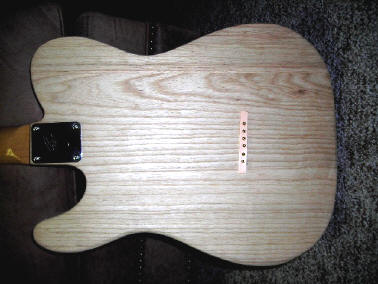
Here is a shot of the back. Note that we use a strip of old binding with six holes drilled through it to take the place of ferrules during initial setup. You have to string the guitar up, and installing ferrules is something you want to do after applying a finish.
This works well, and you can use any number of materials
to make a "ferrule replacement".
|
|
Here is a shot of the mock-up. Note the neck. This was originally planned for a Williams GT, a guitar with a number of styling cues from a Telecaster. It wound up on the shelf for a couple of years. We had considered selling it, but thought that it could be pressed into service for this build. The tuners on the GT neck are vintage Schaller Minis, and the fretwire was very small vintage wire. We kept the strings on the guitar for a couple of days and just played around on the guitar. The body had incredible acoustic properties, and we almost decided not to route it for the bender. To help make the decision, we moved
on to the neck.
|
|
On to Page 2 |
|
| ATTACK HOME | "BUILDER'S GALLERY" | ||||||||||||||||||||||||||||||||||||||||||||||||||||
|
|||||||||||||||||||||||||||||||||||||||||||||||||||||