|
REPAIRING A RELIC T-STYLE NECK! Page 2 |
|
REPAIRING A RELIC T-STYLE NECK! Page 2 |
| Step 4:
Dye the "Rosewood" Once we got the fingerboard acting properly, we had to re-dye it. The sanding had brought up the old "stripes" we normally see in Saga fingerboards. Using a combination of alcohol dye from ReRanch and TransTint tobacco brown in an alcohol base, we dyed the fingerboard. The resulting board is very convincing, and certainly belies its Saga pedigree. We also dyed the position markers to give them a more "clay" appearance. Overall, you can't have a relic with nice, shiny position markers, and we think these look a lot better than those bizarre green markers on the new Les Paul Classics!
|
|
| Step 5:
Fret the Neck The top photo shows the frets just after being pressed into the fingerboard. We used a thin bead of Titebond in each slot to help hold the frets in place. The bottom photo shows the frets after the ends had been "nipped" and the first level is in progress. We like to get a feel for the neck's straightness right after fretting in case we have to remove some frets and start over.
|
|
|
|
|
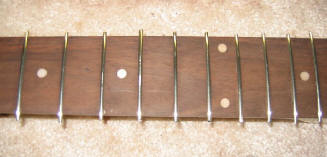
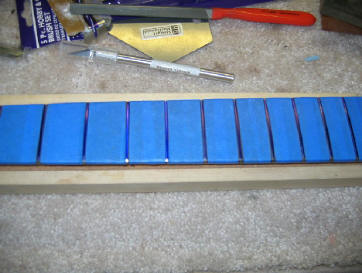
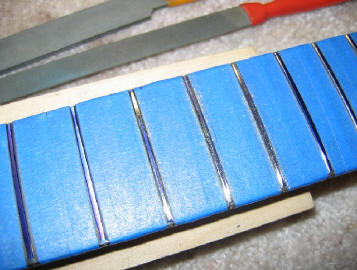
| Step 6:
Work on those frets The top photo shows the neck taped with low-tack 3M masking tape. We tape it for protection and mark each of the frets with a blue Sharpie. Using a radiused sanding block, we sand the length of the neck and "powder" the tops of the frets, finding which ones are high and which ones are low. Once we get a good, level fret plane, we go on to crowning the frets. Using a Stew-Mac crowning file and large triangle file (seen in the background), we impart a radius on the fret. Make sure you mark and remark the frets to keep track of what you are doing. What you are looking for is a consistent "strip" of blue on top of the frets. When you get this, you'll be sure that the frets are rounded and you'll have a good surface for those tasty blues bends. |
|
|
|
|
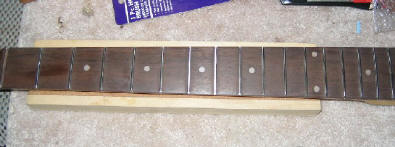
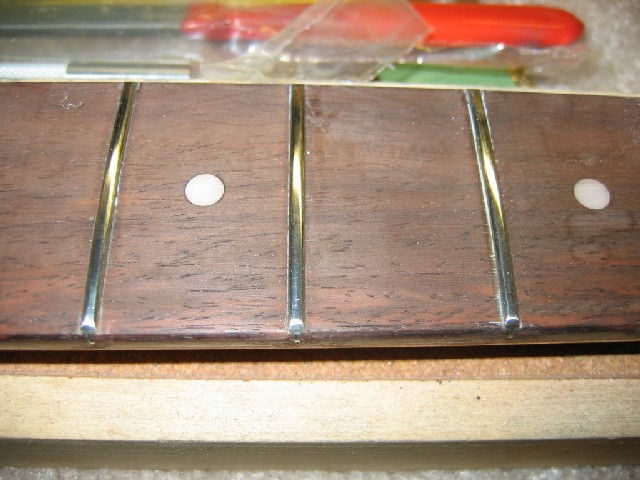
| Step 7: Finalize the Frets After crowning the frets, we use 600 grit, 1000 grit, and 2000 grit sandpaper to get the sanding and filing marks off of the frets. Once they are sanded smooth, we switch to polishing compound and a Dremel tool to polish the frets to a mirror shine. Here is a photo of the finished frets just after removing the tape. We cleaned up the neck surface -- there is still some compound and a few splotchy dye spots on there. Once completed, we touched up the sides of the neck with some clear lacquer and buffed it out with some FinesseIt II on a cotton rag after a couple of days of drying. Since this neck is a "relic", we didn't want it to look too nice. How is that for irony? Click on the photo to see it full-sized.
|
|
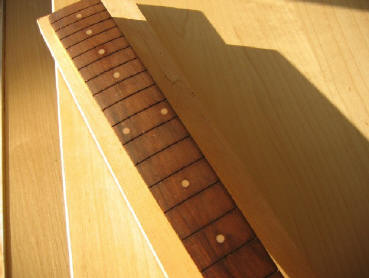
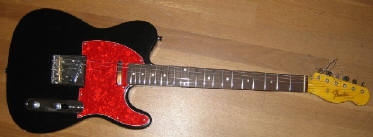
Step 8: Put the Neck back on a Guitar and String 'Er Up Because the pull of the strings, stringing a guitar will tell you a lot about a fret job. We put the neck back on our black development guitar, and started playing. We noticed a big difference after a day with the action, and it appears that we have fixed the hump. |
|
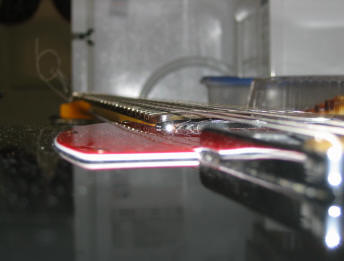
| After of week of string
tension and playing, it was clear that the neck was in much better shape
than it was when it arrived. While this isn't a particularly great
photo, it does show that the neck is now straight. It is important to remember that no amount of cranking on that trussrod would have straightened this neck out! Next up -- ship it back to KK! |
|
| Back to Page 1 | |
| ATTACK HOME | REPAIR MAIN | ||||||||||||||||||||||||||||||||||||||||||||||||||||
|
|||||||||||||||||||||||||||||||||||||||||||||||||||||