 |
| Note from
GuitarAttack: This is a great story. Pay particular
attention to the guidance about drilling ferrule holes on the back of the
guitar! From Maciej Wieckowski
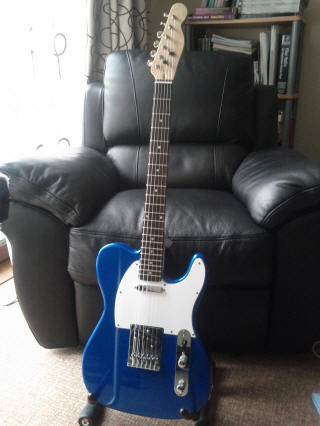
A SAGA T-Style Saga |
 |
|
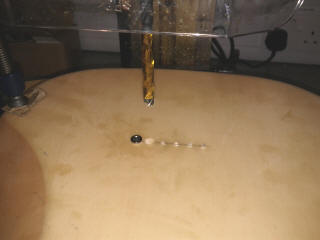
After drilling through the body and doing a good bit of work on the neck
slot, I sanded the body with a 300 grit sandpaper to prepare the sealer for
the first coat of white primer. I decided to go with the original Saga
sealer even though a lot of people complained about it. I can't stress
enough, if you want a good finish, you really need to prepare the base
(sealer) to perfection. Any dents or bumps will be nearly impossible to work
out at a later stage. There was a tiny dent on the front of the body that I
didn't take care off and it is still visible after completely finishing the
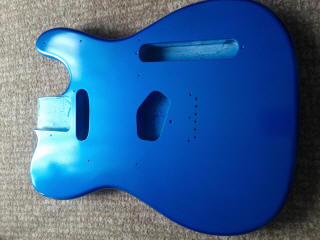
paint work. After putting a few coats of primer, I covered the body with 4 coats of nitro lake blue placid. After putting every coat I was checking for any imperfections or runs that I neatly sanded down. I finished the body off with several coats of clear nitro. The body was left for 4 weeks before sanding. |
 |
|
As I mentioned before, the fretboard and frets were in a pretty dire
condition. The fretboard was uneven and covered with some sort of orange
sealer. I evened it out and cleaned it with steel wool. I then polished it
with the finest grade still wool. The result was more then satisfactory. I
leveled the frets with a fret leveling file and crowned them with a fret
crowning tool. To make sure that all the frets were leveled, I painted them
with a black marker and made sure I filed all the markings down. Also I
applied a little bit more pressure over 12th fret as this allowed for a
lower action. I then polished the frets with a fine grade steel wool. The
result - a really nice low action.
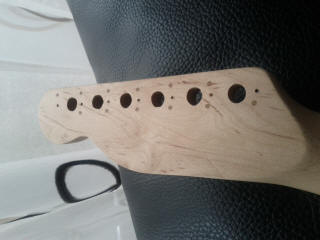
The headstock is Telecaster like. I cut it out using a copying saw and some
files. I finished it off with 200 and then 400 grit sandpaper. The original
holes for the tuners were too small - I enlarged them using precision files. |
 |
|
When finishing the body, I used 600 grit wet and dry sandpaper. To prevent
it from clogging I used plenty of soapy water too. It is very important to
sand down all the high/low spots (the whole surface should be completely
matte) before proceeding with the polishing. I did the same thing with the
neck. To achieve a nice satin/matte finish at the back of the neck I simply
didn't polish it. I only polished the sides of the rosewood fretboard and
the front of the headstock. I polished the body of the guitar with medium
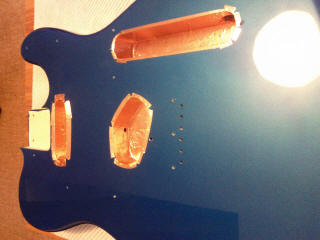
and then fine polishing compound. I insulated the pickup cavities with copper foil. I also applied it to the pickguard. I grounded it to the bridge. The effect is really good, there is only a minimal hum on the overdrive channel. I have a nice quality PRS SE with single coils and it makes 3 times more noise than my Telecaster. |
 |
|
I decided to leave the original bridge, but I upgraded the saddles with
those from the Graphtech supercharger kit. The pots were replaced with CTS
ones. I also replaced the switch and cabling. All in all, I am fairly happy with my first build. I am already thinking about another one, this time a Les Paul. Greetings from Ireland for all the amateur luthiers out there, and happy building. Maciej |
 |
| Great job, Maciej -- Keep on building and send us more photos! | |
| ATTACK HOME | "SAGA SAGAS" MAIN | ||||||||||||||||||||||||||||||||||||||||||||||||||||
|
|||||||||||||||||||||||||||||||||||||||||||||||||||||