 |
| Note from
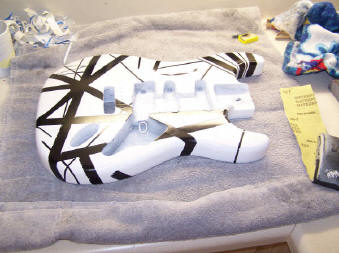
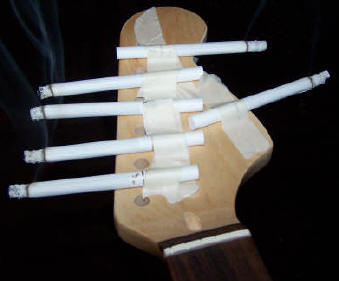
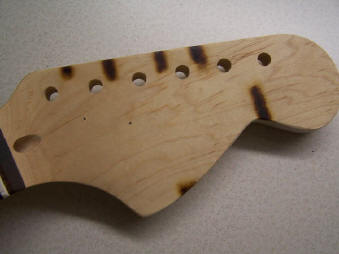
GuitarAttack: Rock On! A Saga Striped S-Style! Check out
those smokes! Does it need a "Surgeon's General" warning?" From Jon Shields
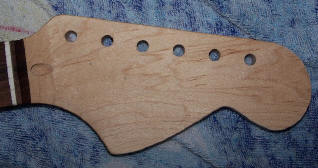
Well after checking all the prices on ash bodies and
maple necks I decided a Saga kit would be best for me since I had never
assembled a guitar before. I of course found your site and used your
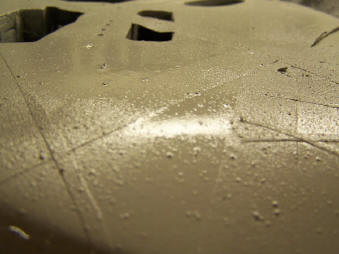
previous research a great deal. I did a dry fit of all the pieces and gave it a test run. I then went to work chiseling out the pickup cavity. I found a "template" on the web and went to work tracing and chiseling. It went pretty well but I used very small steps. I tested the fit and All was well so it was time to paint! I first tried to strip the sanding sealer off but gave up and went straight to painting. I used Rustoleum for white and black since it was all I could find. The black went on well. I used your taping almost exclusively, I didn't get as precise with the locations and sizes as you did (I wish I had). The white on the other hand really went bad. I test fired the white spray can on some card board and was ready to roll. I turned the can to the guitar and out came chunks of white! I didn't know what to do so I finished it off with the intent of sanding it down. Big mistake! I should have took it completely off and started a fresh coat of black. When I finally got the white coat sanded smooth. I removed the tape and the black stripes were
about 1/16" lower than the white! Again I should have started over but the
wait was just killing me! I strung it up and played it for a while as a
white and black model. I eventually painted it red. The red I used was
krylon cherry red. Lets just say I now know what color not to use! So now
with my finished product (for now). I'm not happy with the shade of red, the
entire coat of white, and the small black stripes. I wanted the white and
black paint job so I painted the small black stripes and didn't think about
getting rid of them before going red.
|
|
|
 |
||
 |
||
 |
||
 |
||
 |
||
Great job, Jon -- "Somebody Get Me a Doctor"! |
||
| ATTACK HOME | "SAGA SAGAS" MAIN | ||||||||||||||||||||||||||||||||||||||||||||||||||||
|
|||||||||||||||||||||||||||||||||||||||||||||||||||||

