|
| Note from
GuitarAttack: This is a great story. Lots of great
techniques and we do love a good bass.
From Jerry
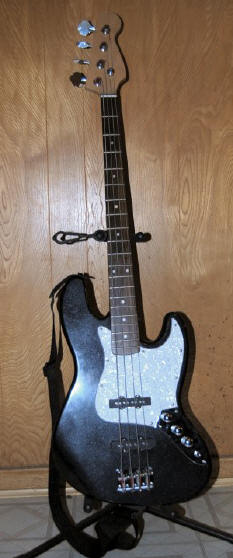
Jensen Originally it was to be a faux dark diorite look, but the white acrylic kept plugging up the airbrush tip. All black paint then I misted in the clear pearl coat getting heavier towards the edges. Finally, I sprayed several good coats of clear lacquer on the body. Let it sit 10 days to cure then rubbed it down with wet 400, 600, 1200 and then an automotive polish followed by a wax polish. That was done by hand since I have no electric buffer. While the photos don't do justice it does have a beautiful mirror finish. |
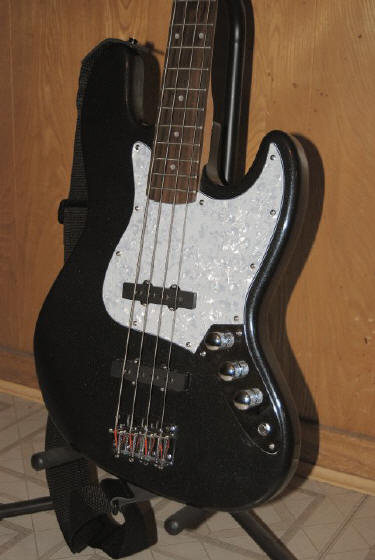 |
I replaced the pick guard with a white pearl guard and of course had to
re-drill the guard screw holes in the body as well as touch up the
clearances on the guard itself. |
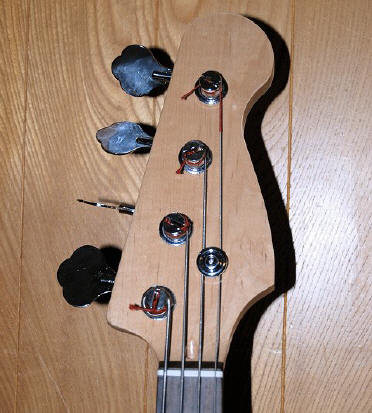 |
| I assembled it all and used a different set of light bass strings than what
came with it. Tuning and intonation was a breeze. The E string was the only
pesky thing for some reason. The others were virtually right on. The whole
action height and pickup height was very close upon assembly so it took very
little time to adjust anything. It made the rounds at work and after an hour
and a half of playing by various musicians everyone was very happy and
exceeded all expectations. Great site you have to share everyone's ideas. My building job has set other friends of mine on a task to do a similar Saga project in the near future.My wood working web page Viking Wood World and it has my Saga Bass link at the bottom for my project. Best regards, Jerry Jensen DFW, Texas Wood World BTW, I have several Stratocaster style guitars that I acquired for and raw wood bodies from various other sources to start a few new projects. These are not Saga's even though I suspect some parts probably come from the same Saga supplier. All the best, Jerry Note -- Check out his killer web site at: http://www.vikingadventurer.com/WoodWorld.htm |
|
| Great job, Jerry and we love your website! | |
| ATTACK HOME | "SAGA SAGAS" MAIN | ||||||||||||||||||||||||||||||||||||||||||||||||||||
|
|||||||||||||||||||||||||||||||||||||||||||||||||||||