|
|
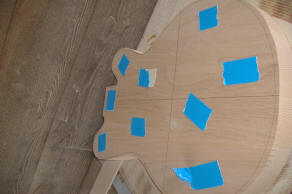
These shots show the two sided tape I use to hold the template on. The tape
is carpet tape I got at the hardware store. What you have to do, well, at
lest for me, for the routing I had to do in steps. What I do is once I get
one side of it routed I take off the template and then reset the router and
start carving the rest of the way.
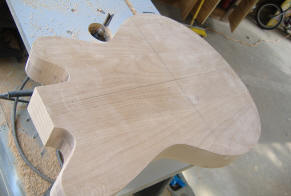
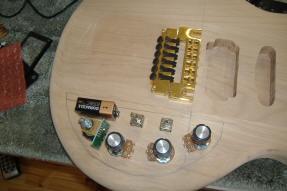
Well, here she is with all the routing done. I cut the control cavity free
hand. If you try this, go slow. I first cut the depth that I want to cover
to be and cut that in first. Once that is done I then cut the depth of the
cavity itself. Don’t forget to hog it out first. That is a lot of wood to
rout out. |
|
 |
|
 |
|
 |
|
 |
|
 |
|
 |
|
|
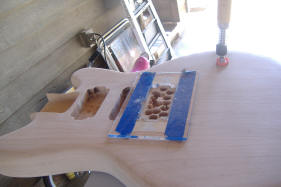
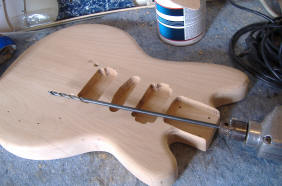
This is what it takes to drill out the wire channels -- a really long drill
bit! One other thing I forgot to say was that to figure out where the
control cavity is going to be on the back, what I do is figure out where I
want the knobs, mark them out then drill all the way through the body, flip
the body over and draw out the pocket. Note: Our technique is to take the carpet tape and stick the knobs on the guitar. In the playing position, you can move the knobs around until you like the position. Once they are in the right place, you can mark the spot and drill. |
 |
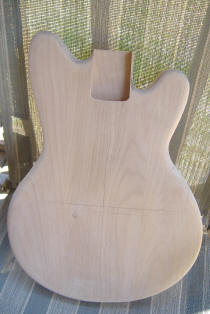
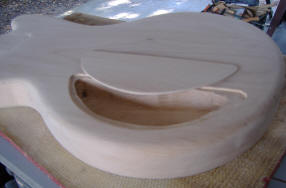
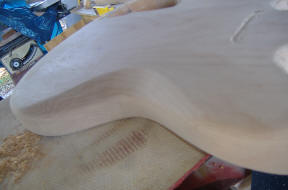
| Here is a shot of the tummy cut. I use my wood files to get the cut, and then sanded smooth. |
 |
Back to Page 1, On to Page 3 |
|
|
||||||||||||||||||||||||||||||||||||||||||||||||||||